How to set up a customizable product
Overview
To set up a Shopify product as customizable via LiveArt addon it has to be linked to the appropriate product in Live Art Control Panel. This tutorial showcases how to achieve that.
Main Setup
In the Shopify Store
- Go to the Products tab in the navigation menu
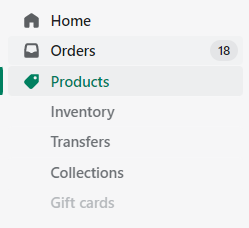
- Add a new Shopify Product

- Select product type as "LiveArt Product"
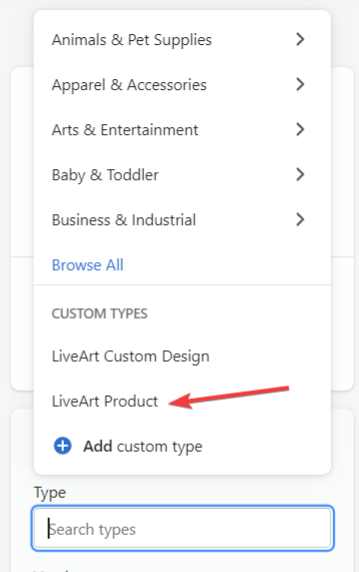
Once selected it will appear under Custom Types field.
TIP
In the dropdown you will find two custom types:
LiveArt Product - this type is used when you want your physical Shopify product to be customizable and designed using LiveArt Designer. Basically, this option allows you to link a Shopify product with a LiveArt product later in LiveArt Control Panel.
LiveArt Custom Design - this type is automatically used when the customer orders the design.
The system automatically creates a new Shopify product (hidden from customers) as a result of preparing the design.
- It may affect product management for the Admin, so we recommend using filtering for hiding products with the
hiddentag.
When creating a product please use LiveArt Product.
Proceed to LiveArt Control Panel in apps.
Inside the LiveArt Control Panel add a new Product.
Select the appropriate Shopify product as the Linked Store Product. Product titles should be the same.

- If Shopify product has any sizes configuration, the same should be applied to the product inside the LiveArt Control Panel.
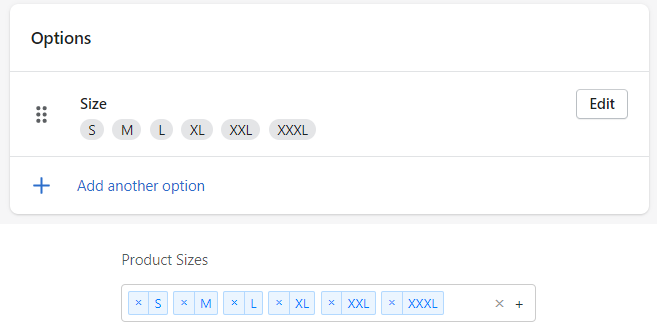
Shopify Variations
How to set up product with variations?
In Shopify product settings add required variations (e.g. Material).
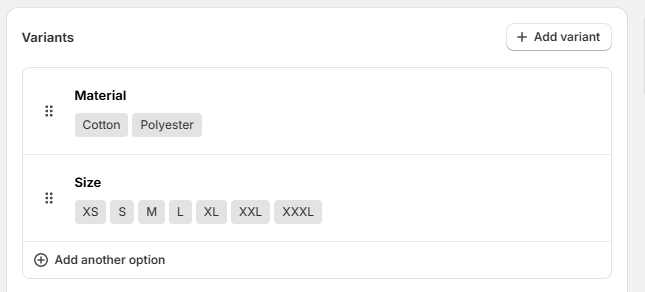
Before opening the designer user should select the desired option.
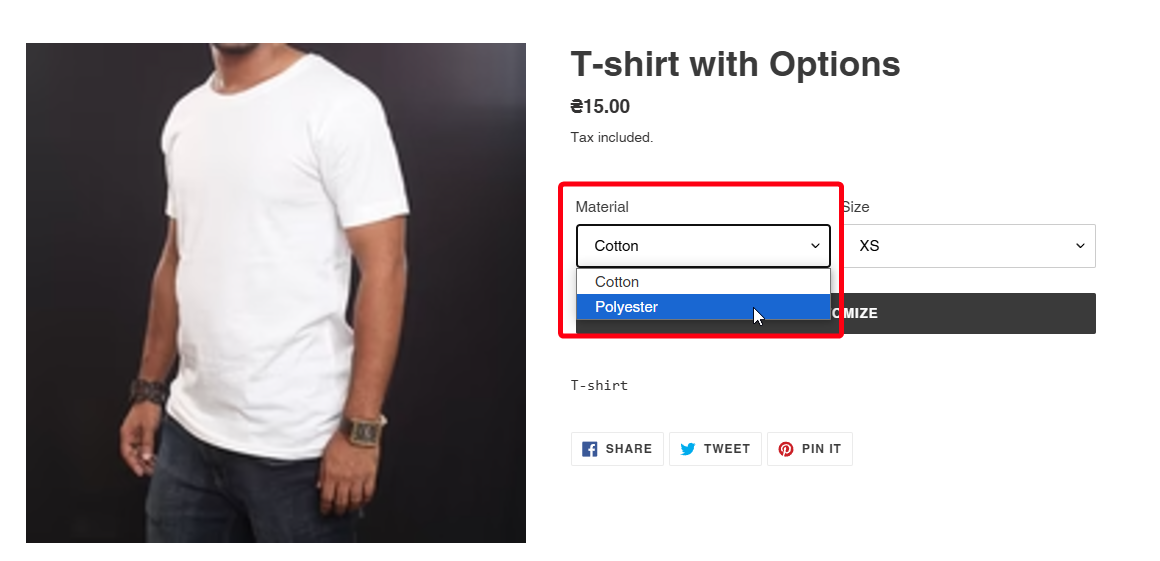
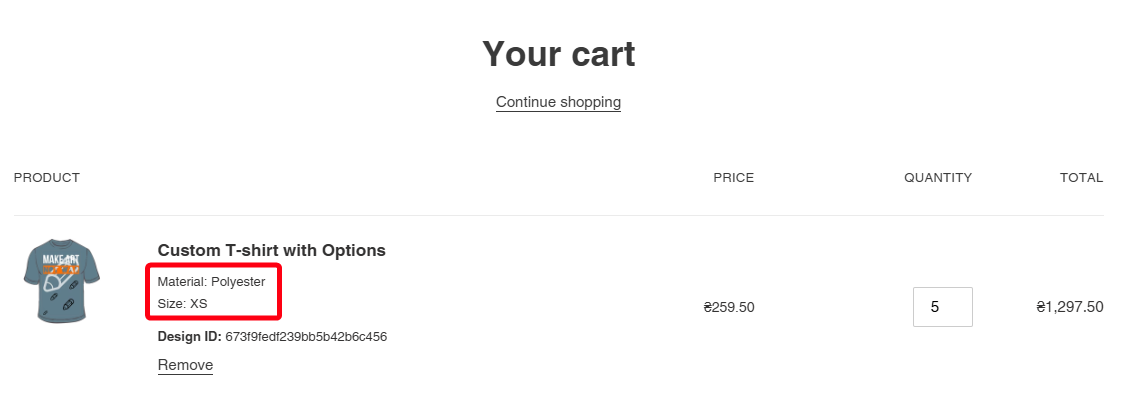
Product will be displayed in the cart with the desired variation.
Limitations
- For resizable(signs, banners) selected Size option does not affect the product in the designer. We recommend setting sizes in the designer.
- Variations prices do not integrate with designer prices.