Appearance
Graphics Preparation Guide
General Information
The artwork for LiveArt can be in the following web formats: JPG, GIF, PNG or SVG. For best vector representation we recommend using SVG format. You can easily export your vector graphics into SVG from Adobe Illustrator or CorelDraw.
Graphics Preparation
For non-colorizable artwork both raster and vector graphics format can be used.
TIP
We suggest using raster images for thumbnails which will be shown in the graphics catalog. Recommended images dimensions are 110x110 pixels.
For colorizable artwork only vector (SVG) can be used. See detailed SVG graphics preparation guide for more information below.
Guide to preparing SVG graphics in graphics editors
General recommendations
Follow these recommendations for any SVG graphics that you plan to use with LiveArt.
- 💡 When saving your product in editor, save it with CSS Properties set to
Presentation Attributeson svg export dialog (examples: in Illustrator, in Corel). - Make sure your vector data is optimized, does not contain:
- any hidden elements;
- any referred external images;
- any extra namespaces like RDF, sodipodi etc;
- any clip-paths inside that may conflict with other elements on LiveArt stage.
- 💡When saving your graphics, turn off
Preserve Illustrator Editing Capabilitiesoption so that your SVG file size is smaller (examples: in Illustrator). - Use https://jakearchibald.github.io/svgomg/ utility to prettify and clean up your SVG.
TIP
We recommend uploading your SVG image to the gallery in the admin panel with dimensions of 300x300px and a maximum size of 250kb.
Preparation of colorizable graphics
TIP
Due to recent changes in Adobe Illustrator's SVG export format (starting from version 28.4), we recommend avoiding the use of Illustrator versions 28.4 and newer for multicolor SVG image preparation. These versions introduce issues with IDs that affect the compatibility with LiveArt Designer.
Please use Adobe Illustrator versions older than 28.4 until further notice. We are actively working on a more robust solution to handle these changes in future updates.
There are 2 ways you can make your graphics colorizable:
Use special layer names
With this approach, you name each colorizable layer with the special name which is recognized by LiveArt.
💡We will use this SVG product sample in the guide so you can download it and verify your results in the end.
Open your graphics in graphics editor and name all layers to colorize with a special layer name syntax:
la|Layer Nameorla|Layer Name|group.For example,
la|Collar|collar. Please see example in Illustrator.
TIP
Here is the explanation of the syntax:
la- special prefix that allow LiveArt to recognize the layer;|- special separator (Note: will be exported to SVG as UTF code_x7C_);Layer Name- layer name that will be visible for the customer in designer during colorization (example);group(optional) - layer group.
- Use groups:
- to colorize independent areas at the same time;
- to colorize the same area on product different locations (see example: front location, back location, colorize in the designer);
- Note: If layers from the same group have different
Layer Name, on UI layer name will be the same as the highest (in the layers list) layer name in Illustrator has.
- 💡 When saving your graphics in editor, save it with CSS Properties set to
Presentation Attributeson svg export dialog (examples: in Illustrator, in Corel). Please see how layers will look on exported to SVG sample.
TIP
- What is colorizable:
- All kinds of paths with solid color (Note: in groups the first (lowest) object with fill will be used as a source. This fill will be applied to all objects inside the group).
- What can not be colorizable in Illustrator:
- Clip paths.
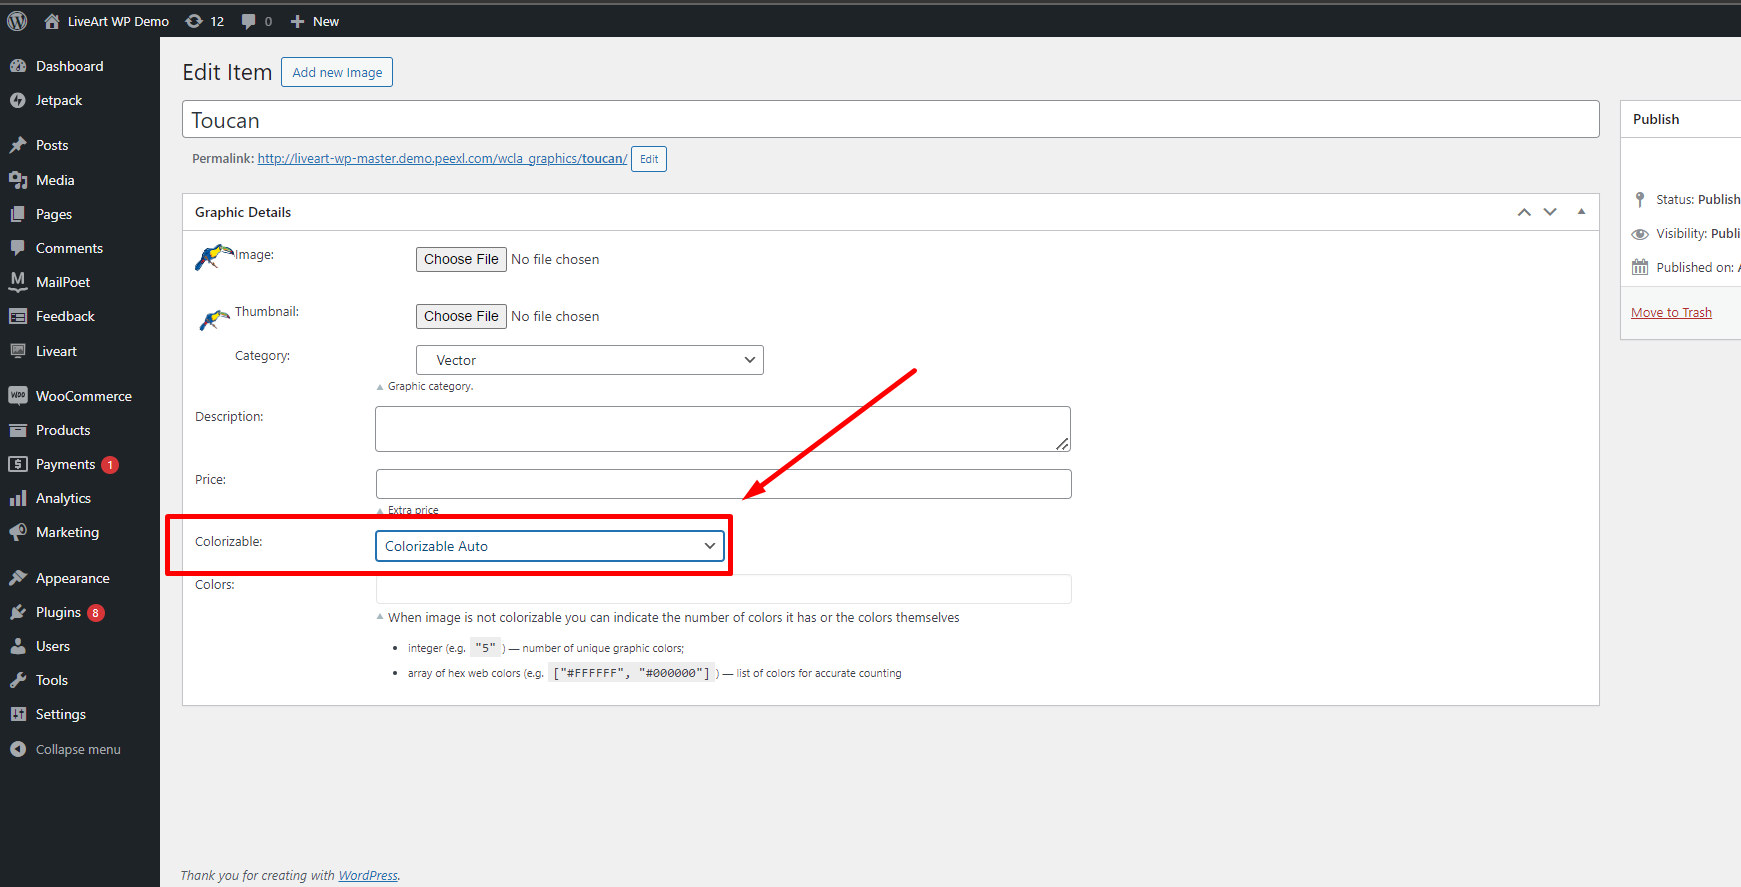
Automatically parsed colors
You can enable automatic parsing of your uploaded SVG graphics to colorizable layers in LiveArt Control Panel. LiveArt will recognize colorizable layers for you and name respectively as Color 1, Color 2, etc. Please see examples: