Appearance
WooCommerce
How to add a product?
TIP
In order to set your product as colorizable please prepare it according to our product preparation guide.
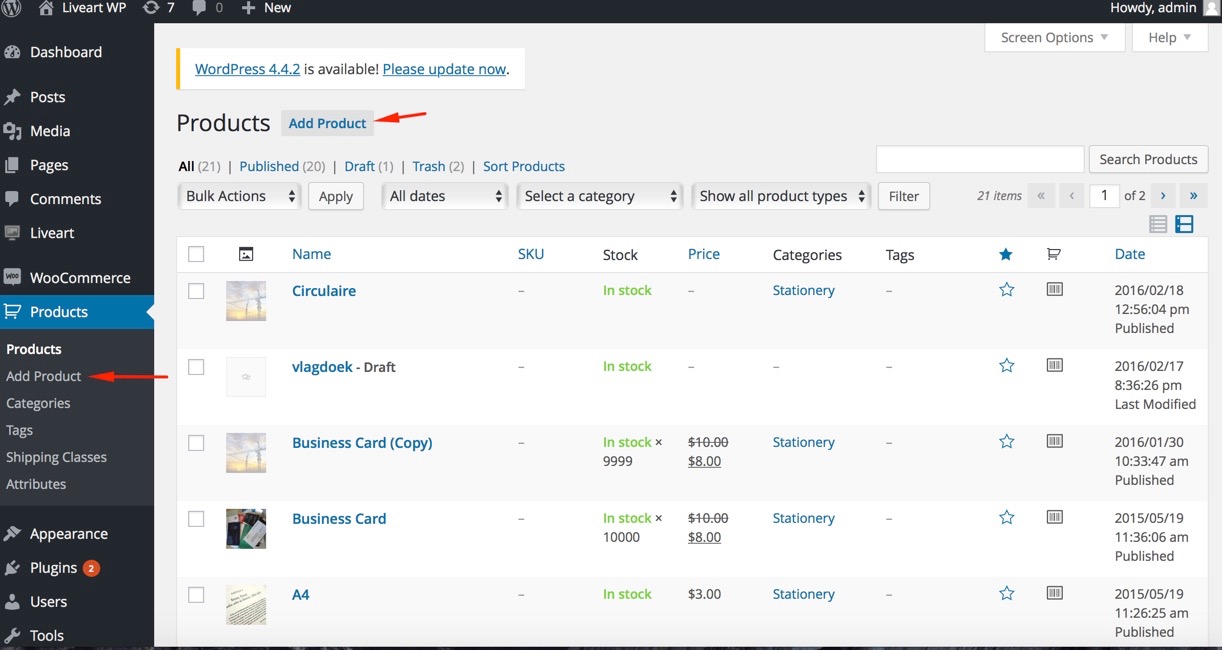
- To start adding a new product choose "Add Product" in the "Products" tab.
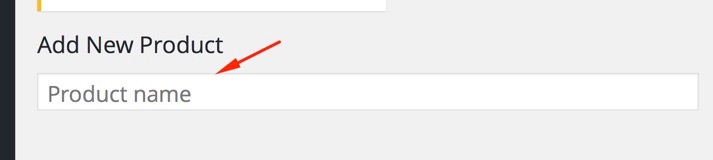
Enter name of the product
- Click on the "LiveArt" tab to open settings panel.
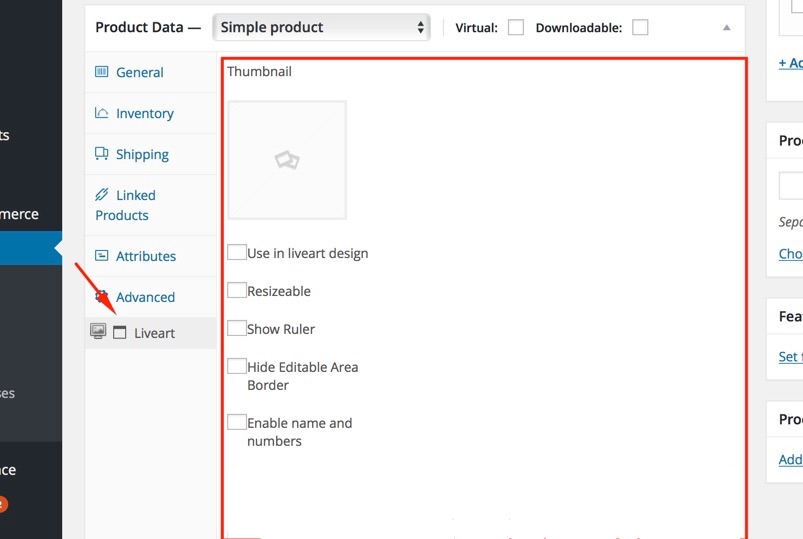
- Choose or upload thumbnail:
- Click on the gray icon
![]()
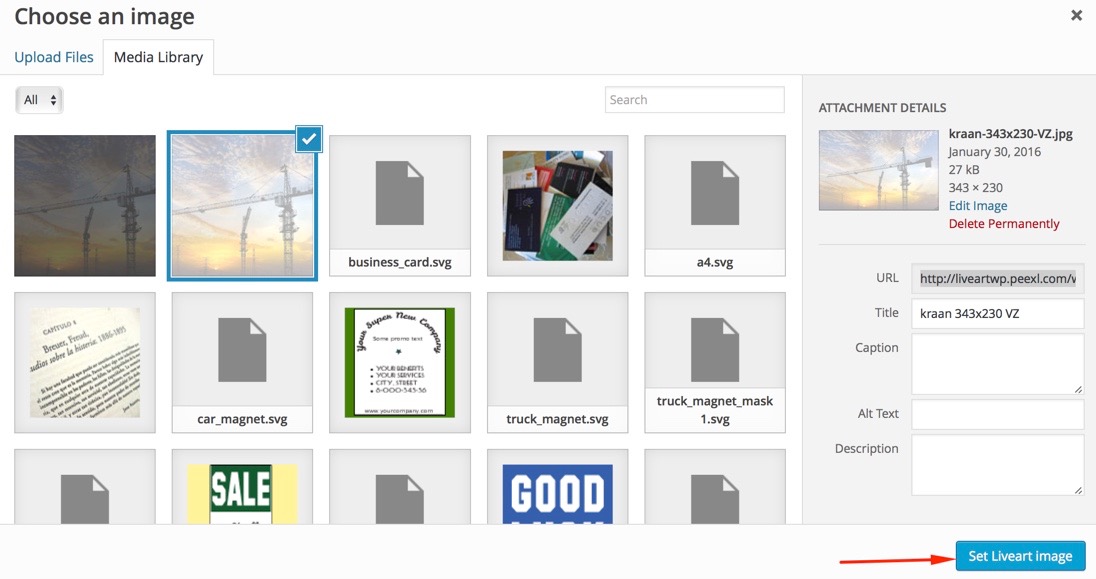
- Choose an image from the Media Library or click "upload file"
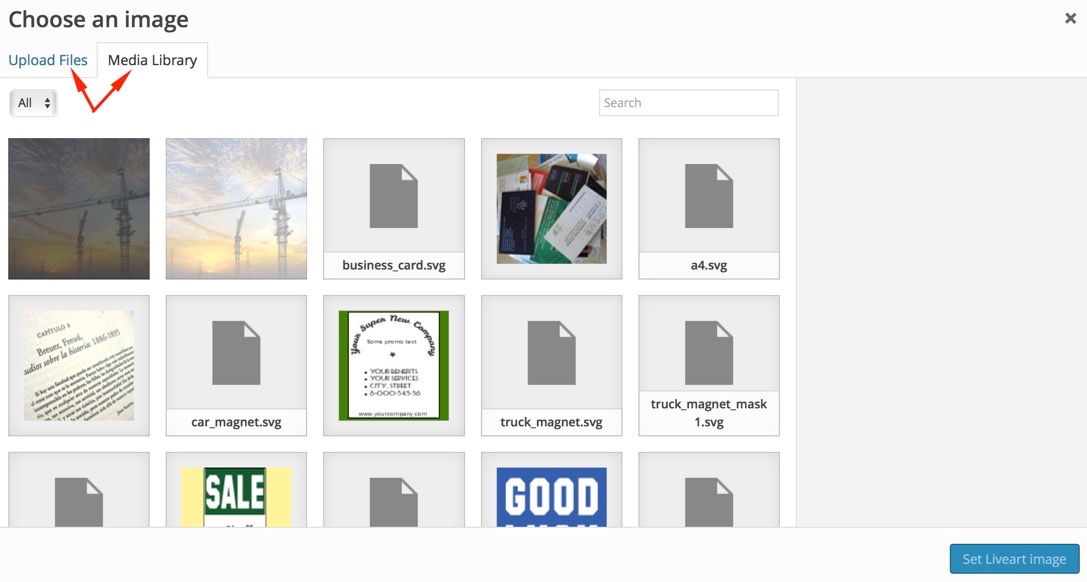
- If "upload file" : drop file to window or select file from your computer.
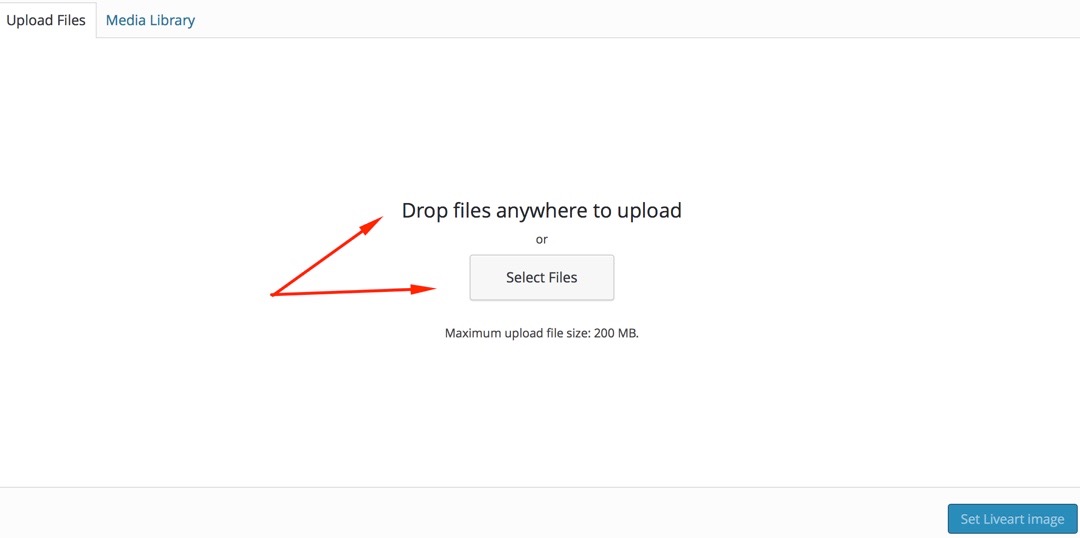
- Click on "Set Liveart image"
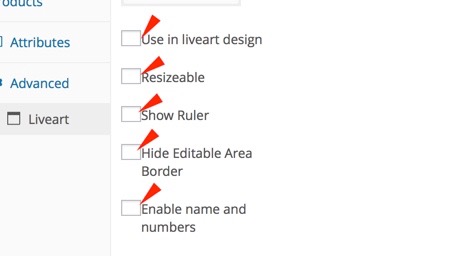
- Set checkboxes.
- To use the product in the liveart designer set "use in liveart design" checkbox.
- Set the "resizable" checkbox, if the user can change the product dimensions. Applicable to sign-based products.
- To show a ruler for the product set "show ruler" checkbox.
- To hide the editable area border set "Hide Editable Area Border" checkbox, if not, the printable area border is not rendered.
- To enable the ability to add Names and Numbers for products like uniform, set "Enable name and numbers" checkbox.
- Product Printing Areas. Print Area is a synonym to Location, i.e. an area of a product, which will be presented to user as customizable. Example in case of t-shirt is Front or Back or Sleeve. You can define up to 6 areas if necessary.
- Go to the Printing Areas tab

- Click the "Add" button to add product printing areas.

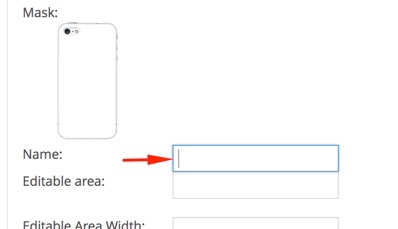
- Upload an image (background image) and mask (the mask image, that will be applied to the product background image).
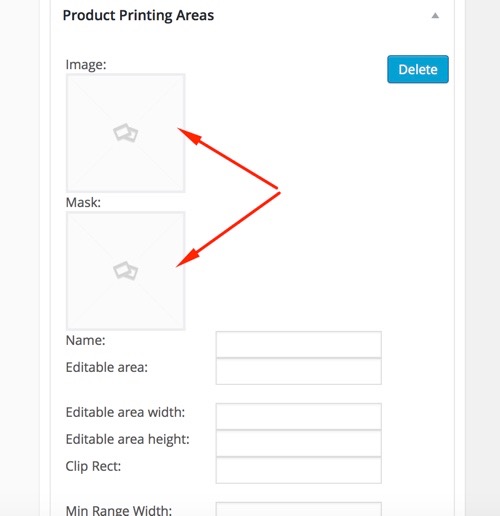
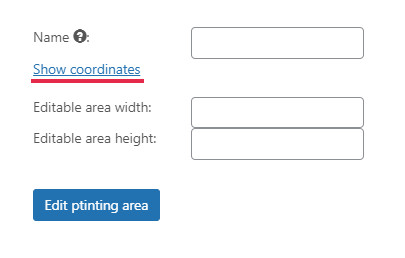
- Enter the name of the new print location as it would appear in designer
- Enter Editable area width and Editable area Height (number of width and height of editable area in real-life units). For example, if you are using inch units and your printable area is A4-size, enter 8.27 and 11.69 respectively.

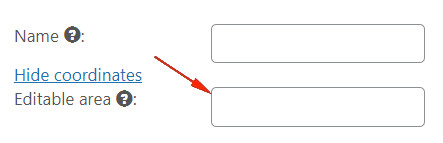
- For advanced configurations you can click "Show coordinates". This will reveal additional options: the Editable Area coordinates and Clip Rect
- Enter Editable area (coordinates of top left (first two numbers) and bottom right points (last two). On design is rendered as rectangle)
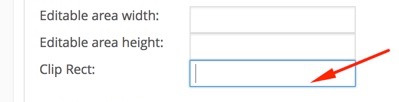
- Enter Clip Rect (it is list of 2 coordinates for top left and bottom right corners of clipped area. It is very handy to copy these from editableArea if the design should be cropped at the sides of editableArea.)
- Product Colors
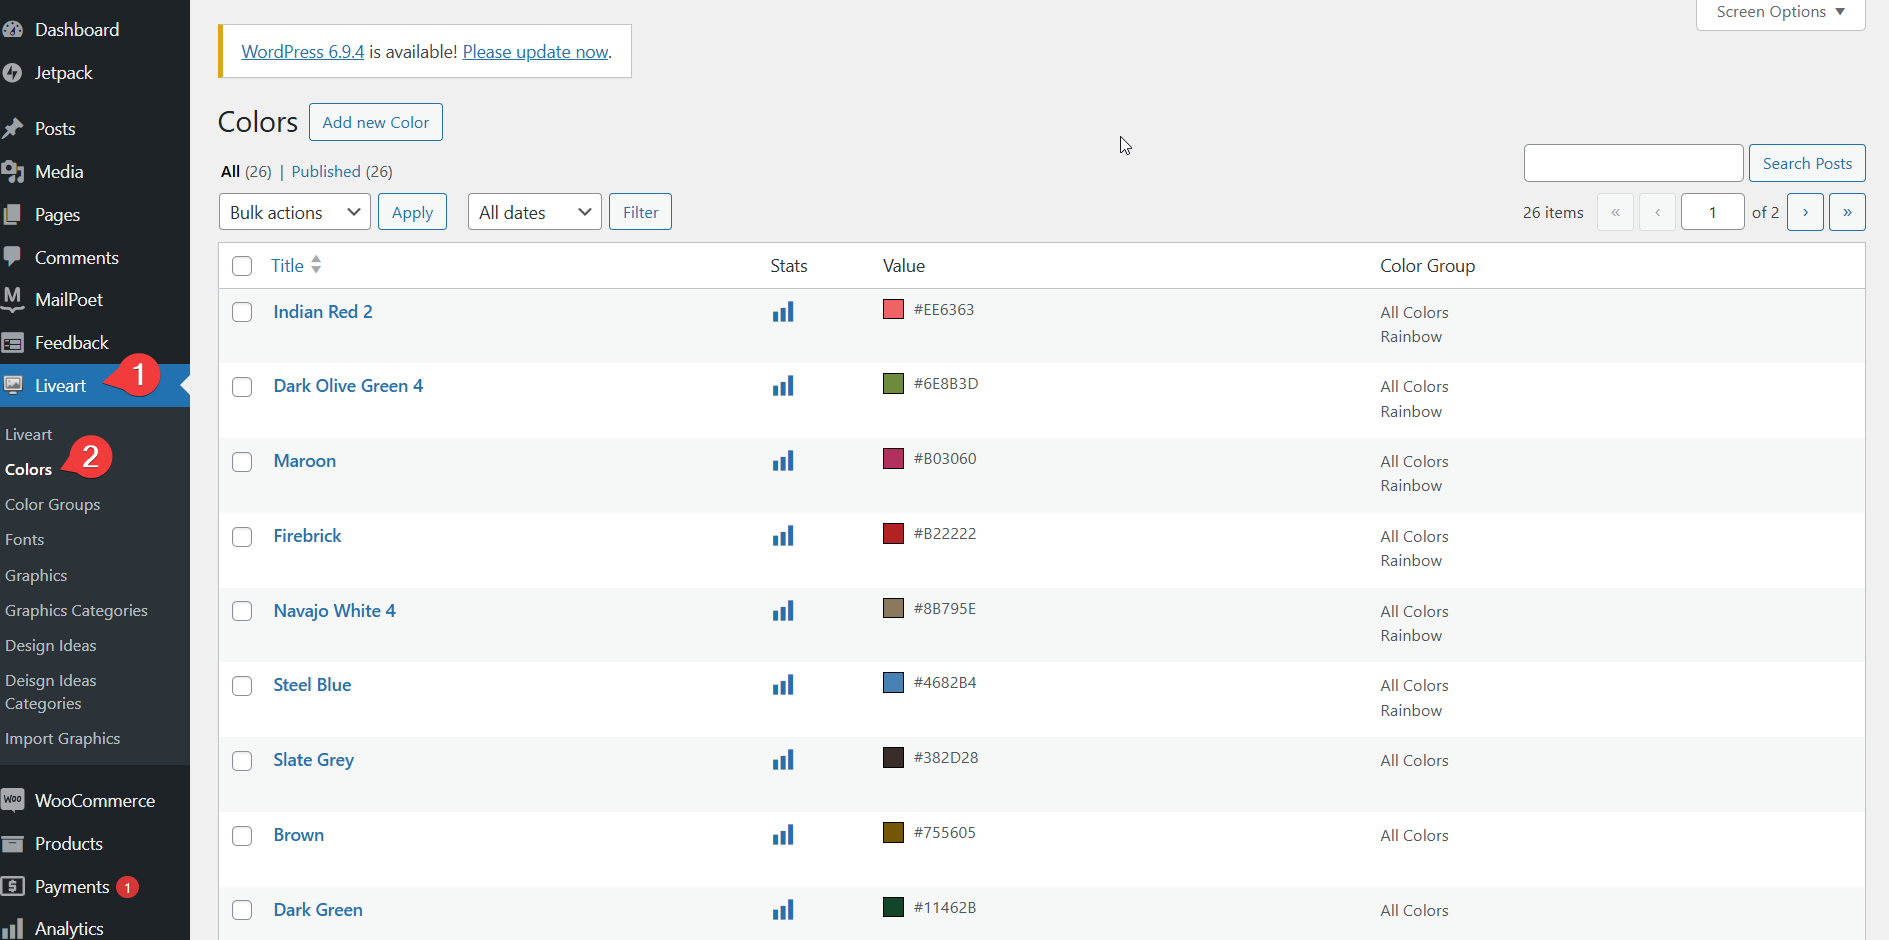
- Navigate to the "Colors" tab.
Use the Color Source dropdown to choose how available imprint colors are defined for this product. There are three options:
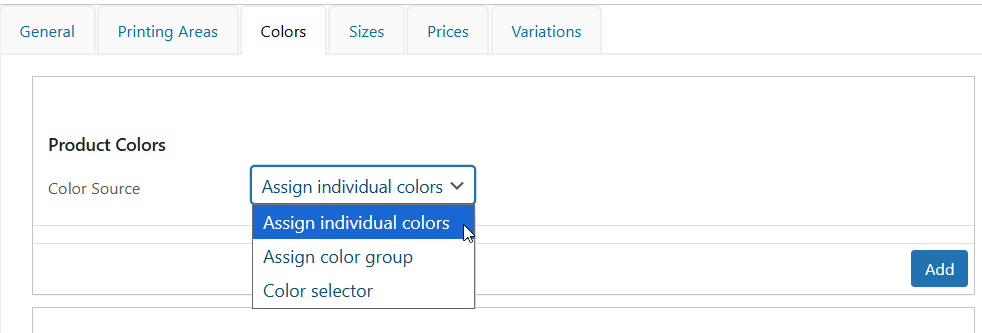
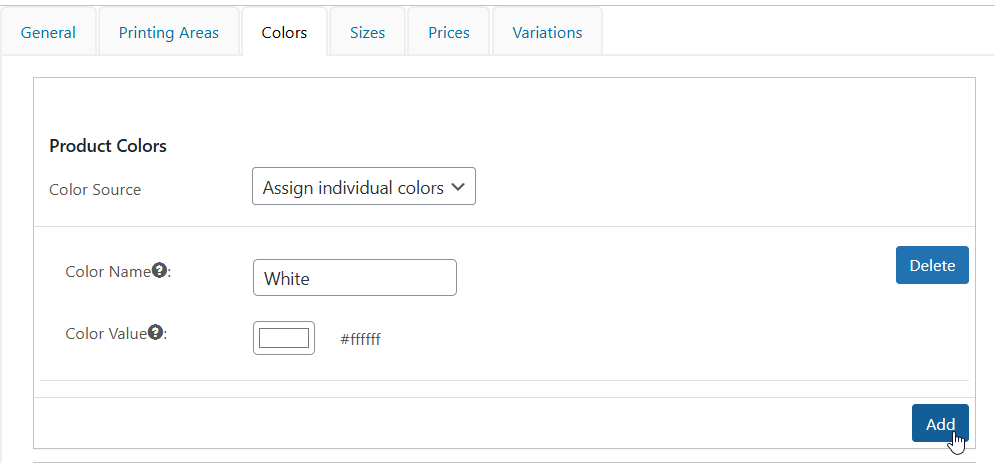
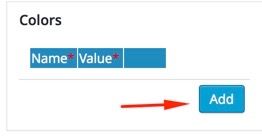
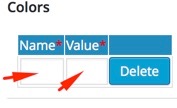
Assign individual colors — manually specify the exact colors available for this product. Click "Add" and enter a Color Name and Color Value (HEX) for each color.
Assign color group — select a predefined color group. The colors belonging to that group will be made available for this product.
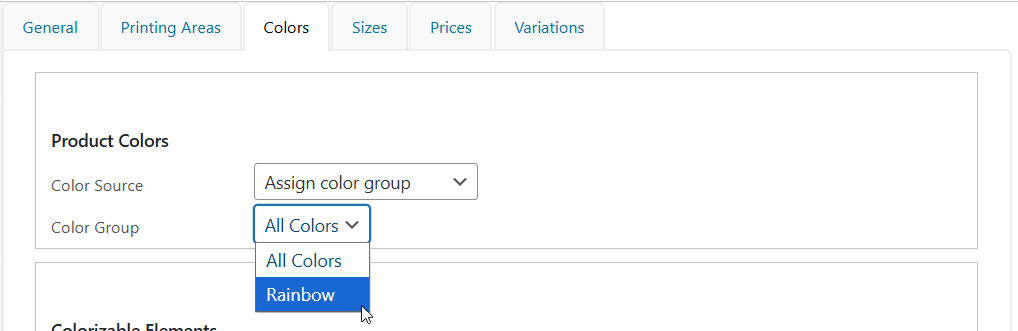
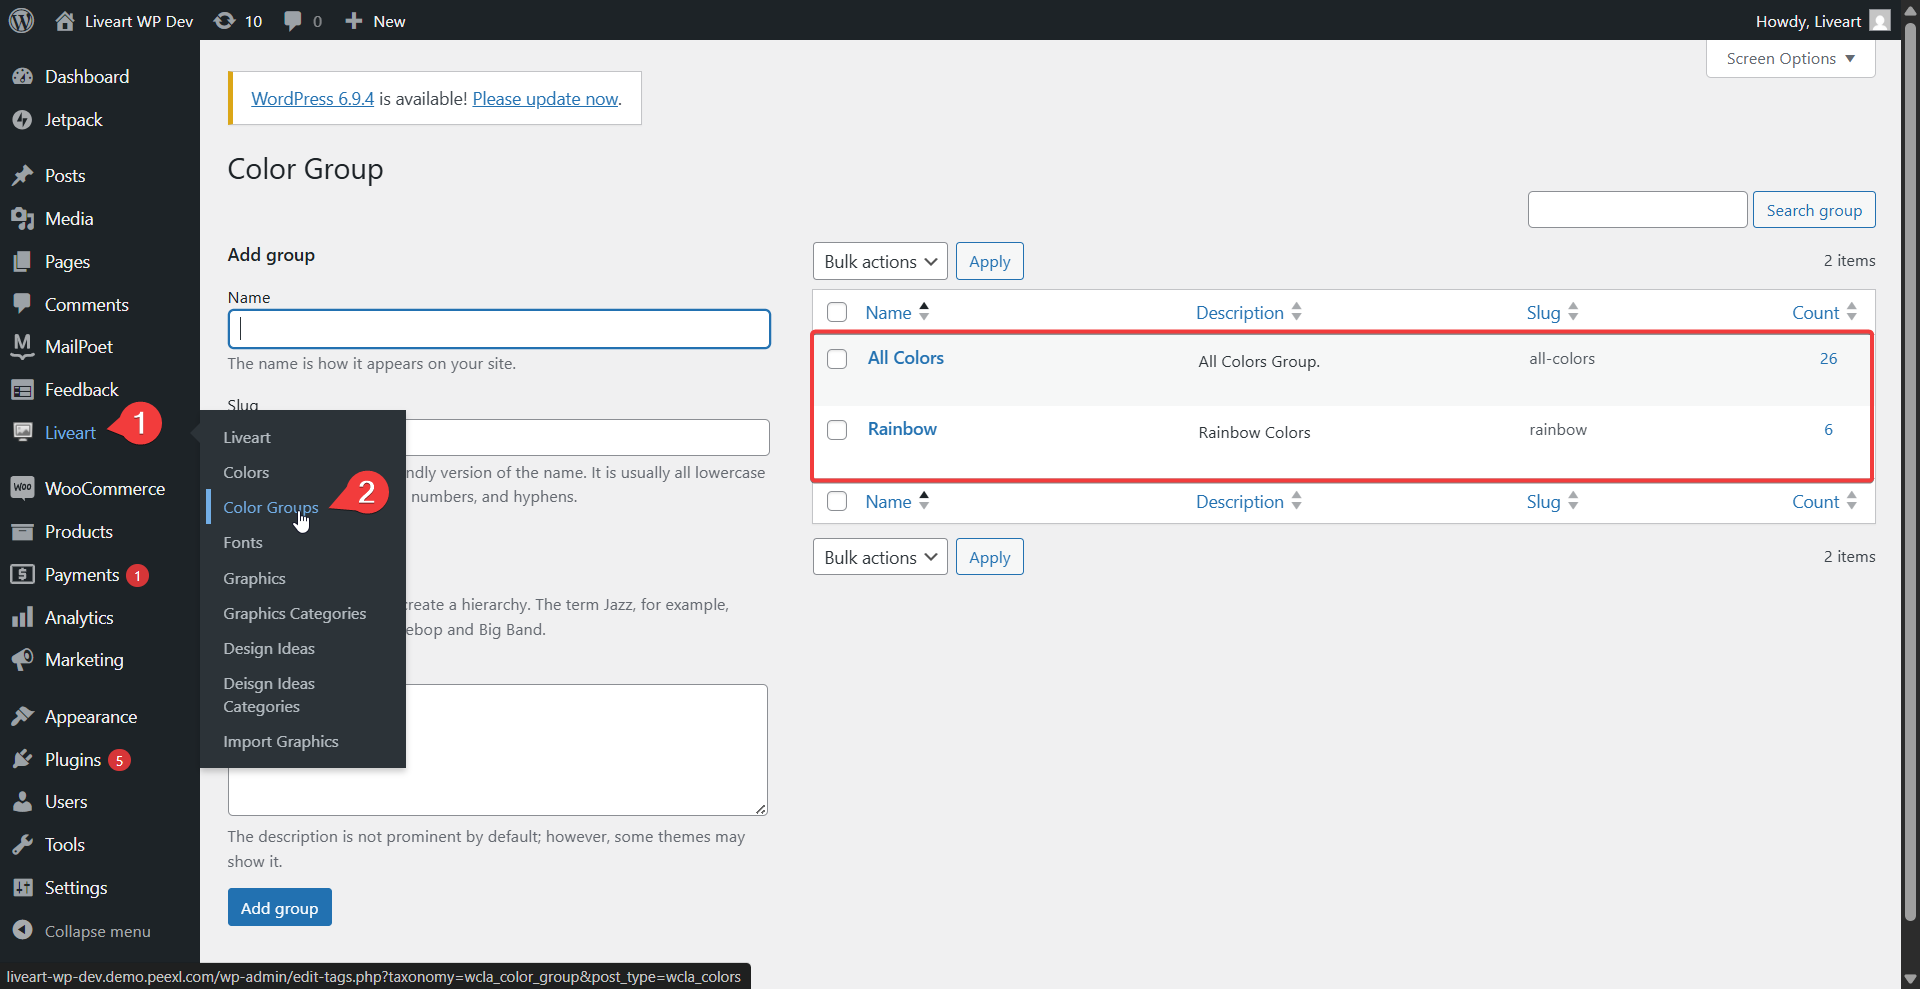
Color groups are managed in Liveart → Color Groups.
Color selector — enables the Color Wheel in the designer, allowing customers to pick any arbitrary color.
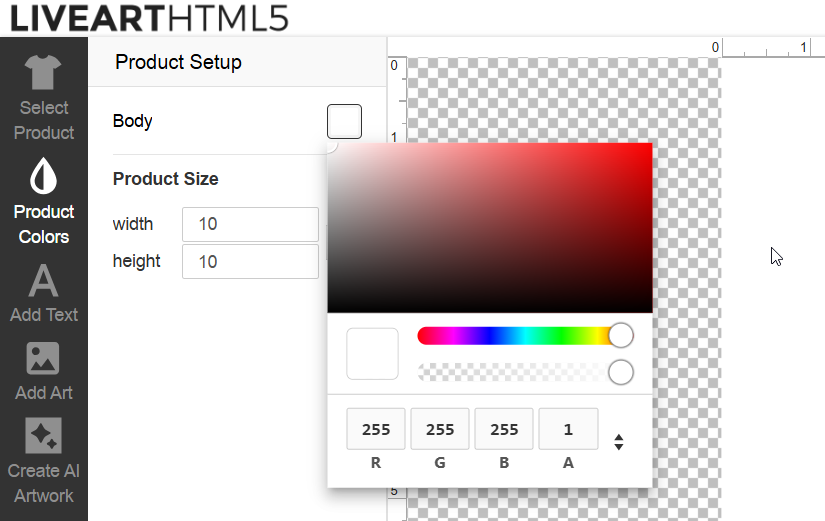
If no Color Source is selected, the product will use all colors defined in Liveart → Colors.
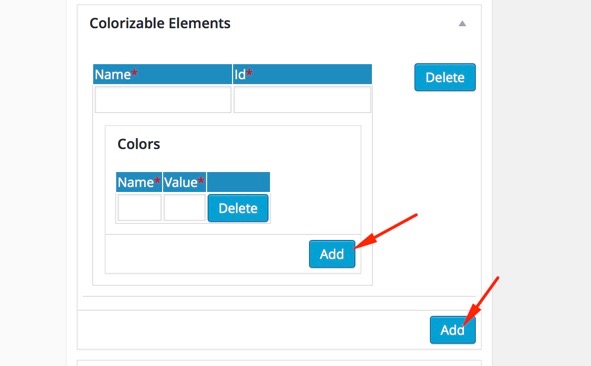
Colorizable Elements
TIP
Elements of the product that can be colorized, e.g. uniform or multiple panel products, please note that colorizable elements are applicable to SVG product images only. Editing colorizable elements is needed if you wish to configure the elements manually instead of the default automatic colorization
Enter name and id of element. Name would represent a name of colorizable element as it would appear in designer, e.g. "Left Sleeve"
Id should represent a style of an element in SVG template.
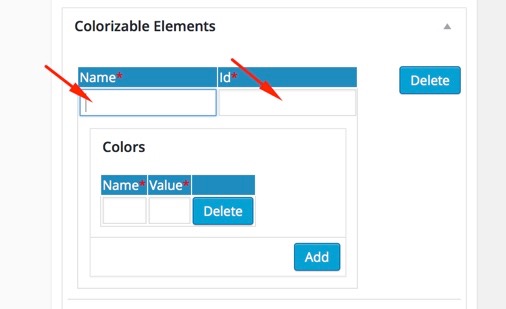
Add colors for colorize element. You can add multiple colors, which a colorizable element will be limited to. If you'd like to use complete list of imprint colors, leave this list empty.
Enter Name and value. The Value should represent HEX value of a color, e.g. #FF00DD;
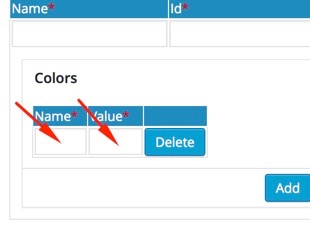
- Click on the button "Add" for add the color and button "Add" for add the colorizable element.
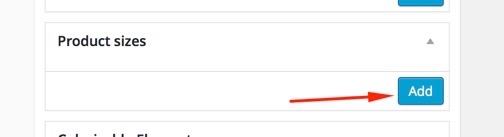
- Product Sizes
- Navigate to the "Sizes" tab

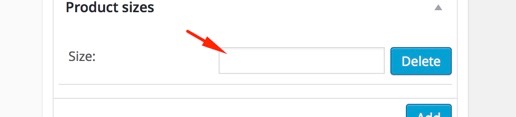
- Click "Add" to enter size.
- Enter Size Name (e.g. XL)
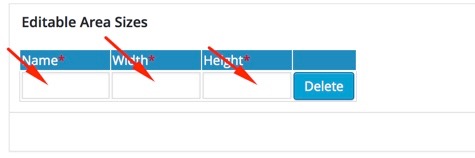
Editable Area Sizes
(defines preselected possible sizes for user, works only for resizable products)
- Click on "Add".
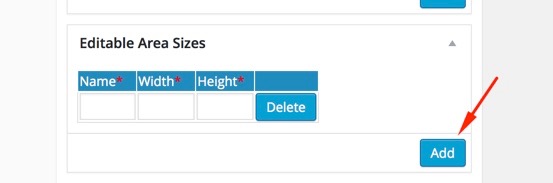
- Enter name, width, and height.
- Pricing
- Navigate to the Prices tab. There are three independent pricing options available.
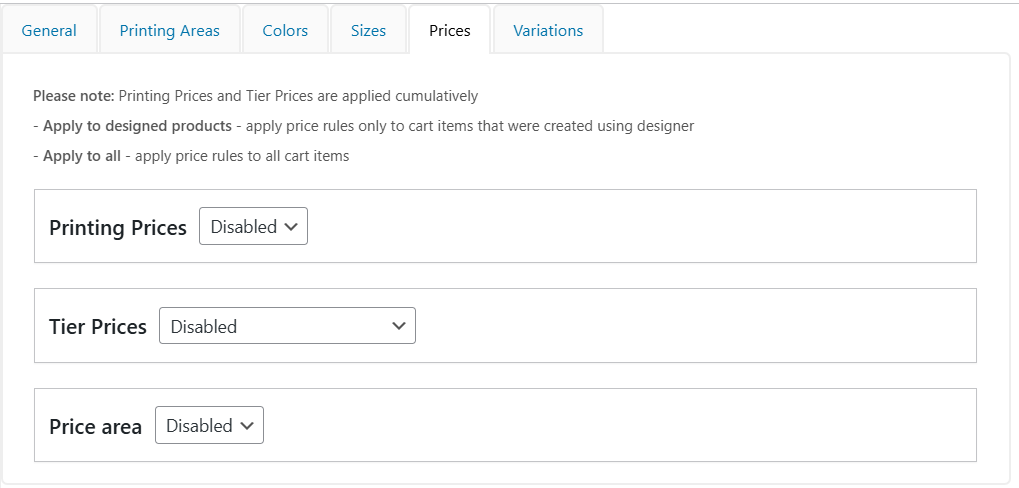
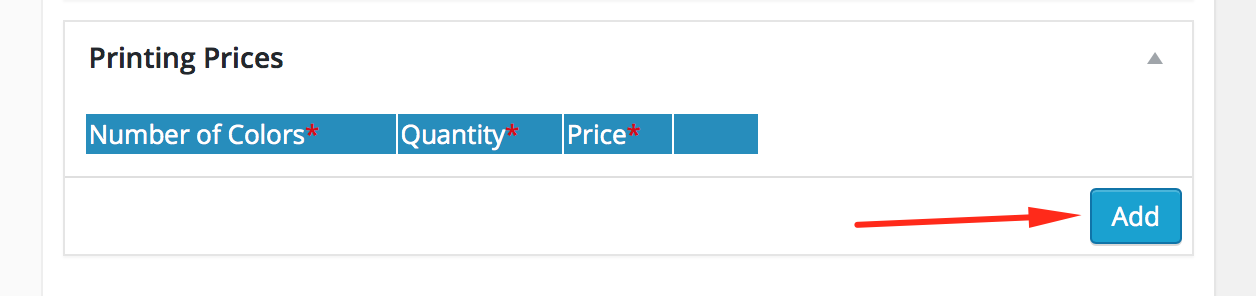
Printing Prices
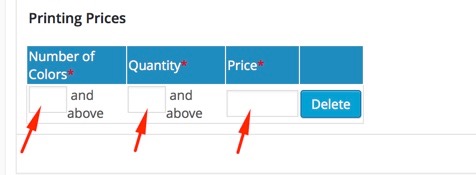
Allows setting a price based on the number of imprint colors and order quantity. Enable the Printing Prices toggle, then click "Add" and enter:
- Number of Colors — the imprint color count this rule applies to.
- Quantity — the minimum order quantity.
- Price — the unit price for that combination.
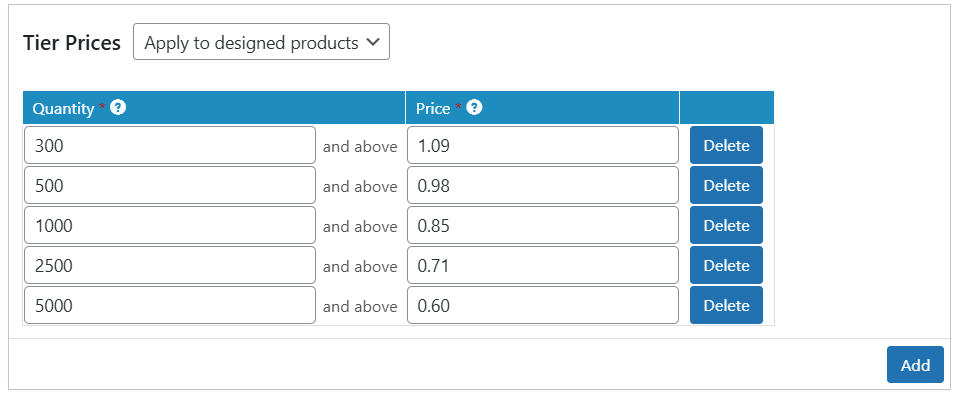
Tier Prices
Allows setting quantity-based unit prices. Enable the Tier Prices toggle and choose how the rules are applied:
- Apply to designed products — apply price rules only to cart items created using the designer.
- Apply to all — apply price rules to all cart items.
Click "Add" and enter a Quantity threshold and the corresponding unit Price.
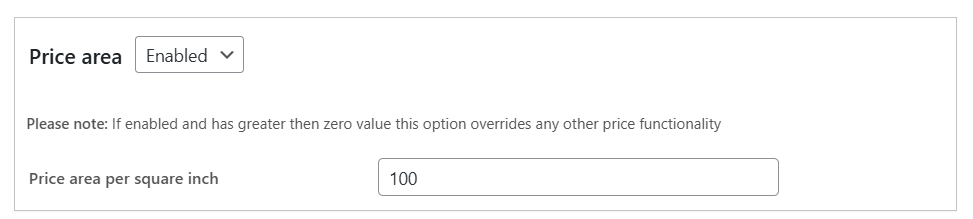
Price area
Sets a price per square inch based on the total design area. Enable the Price area toggle and enter the price per square inch.
TIP
If enabled and set to a value greater than zero, Price area overrides all other pricing options.
How to set up product variations?
Product variations allow customers to select a specific size directly on the product page, with LiveArt loading the designer at the corresponding dimensions for each variation.
- In the "Product data" section, open the product type dropdown and select Variable product.

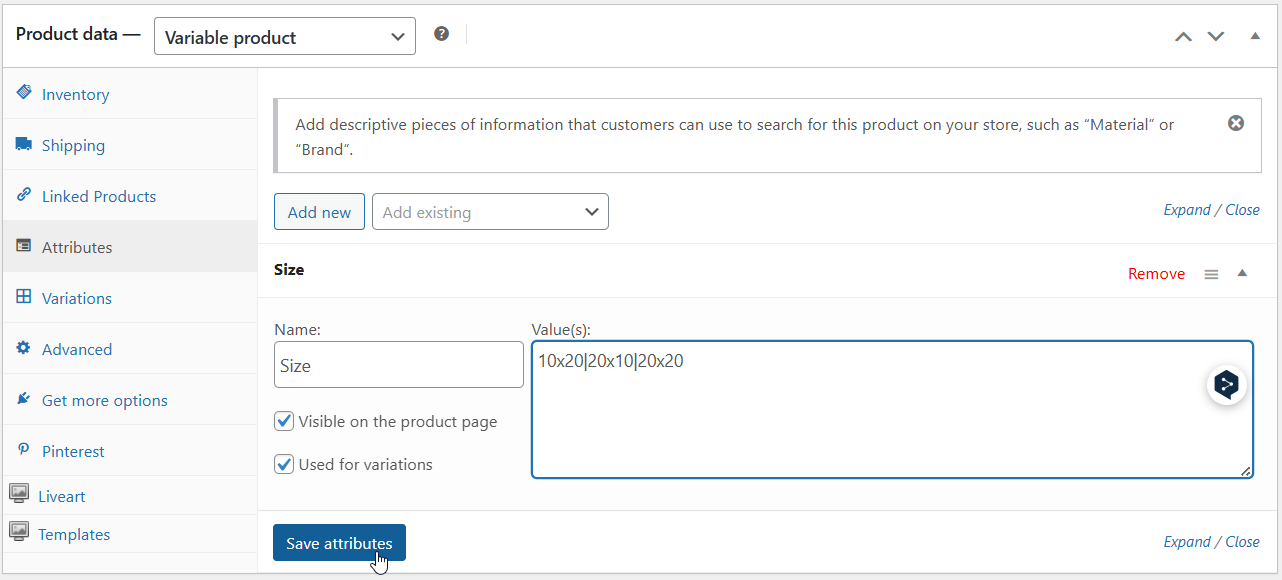
- Navigate to the Attributes tab. Click "Add new", enter
Sizeas the attribute name, and add your size values separated by|(e.g.10x20|20x10|20x20). Enable Visible on the product page and Used for variations, then click "Save attributes".
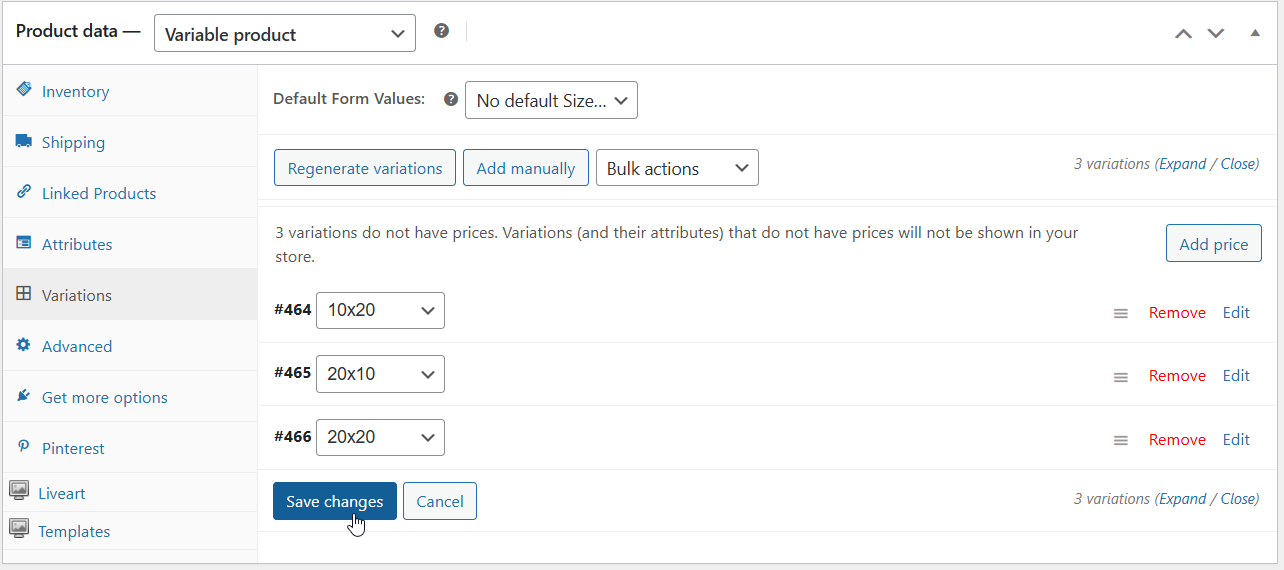
- Navigate to the Variations tab and click Generate variations to automatically create a variation for each size value defined in the attribute.
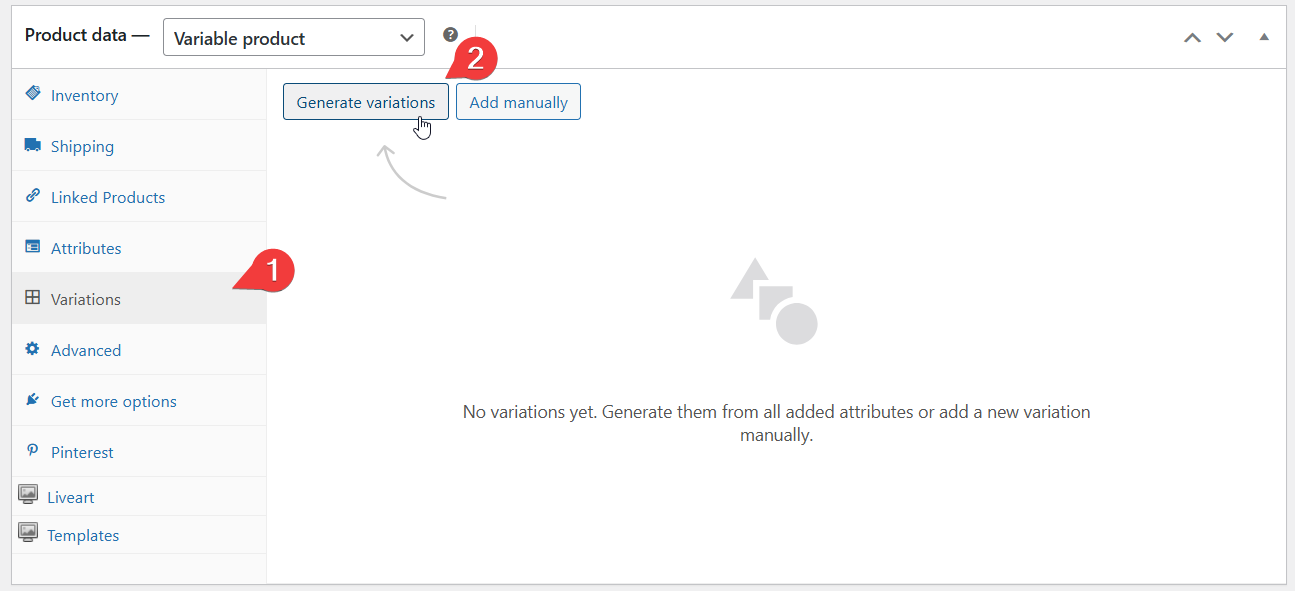
- After generating, the list of variations will appear. Click Save changes to confirm.
- Open the Liveart tab in the product sidebar, then go to the Variations sub-tab. You will see a table listing all generated variations with their size labels and empty Width/Height fields.
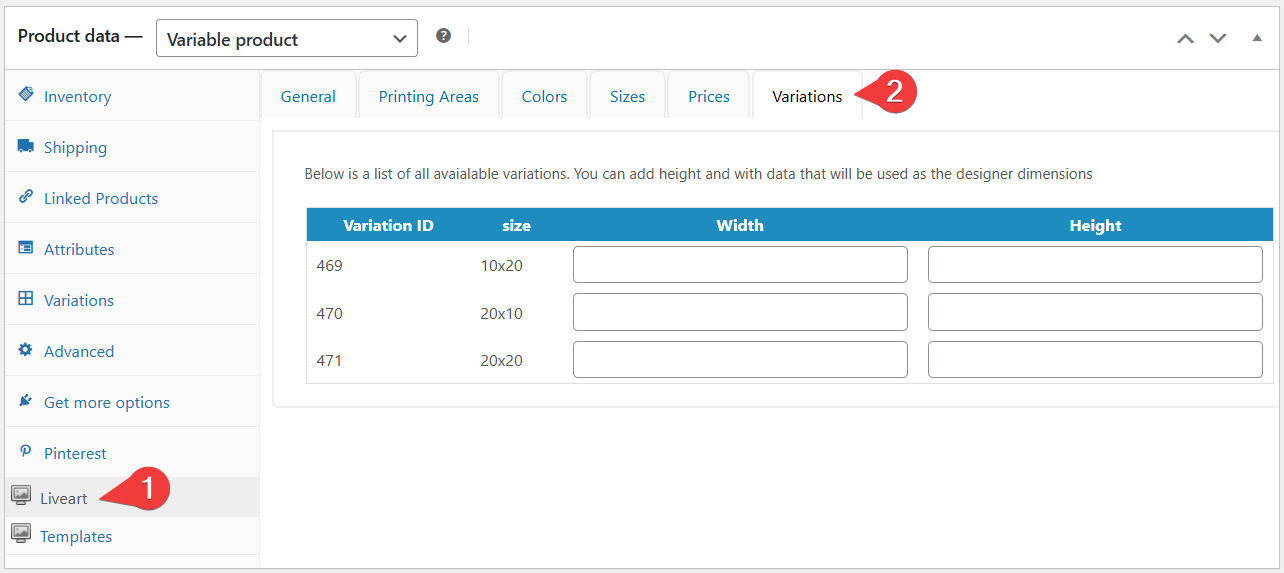
- Fill in the Width and Height values for each variation. These dimensions define the designer canvas size that will be loaded when a customer selects that variation.
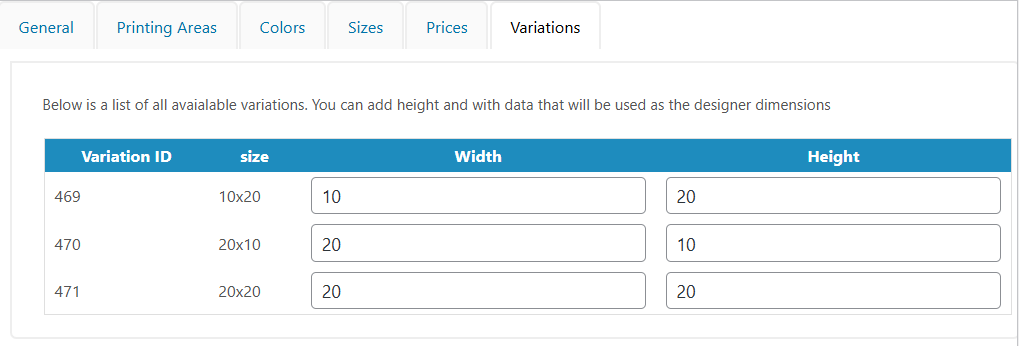
Once saved, the size selector will appear on the product page and the designer will open with the dimensions configured for the selected variation.
How to set up templates
TIP
Premade template is a design that is created and attached to the specific product and includes product configuration changes e.g. colorizing and adding design elements such as text/graphic and applying constraints to them.
To create Premade Templates you have to use the regular LiveArt tools such as adding gallery images, uploading your own images, configuring colors, adding text, etc.
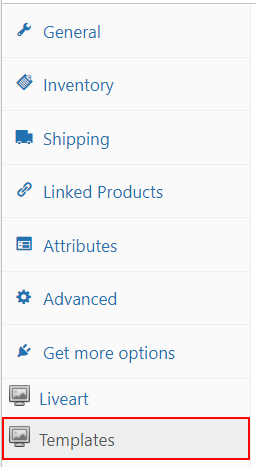
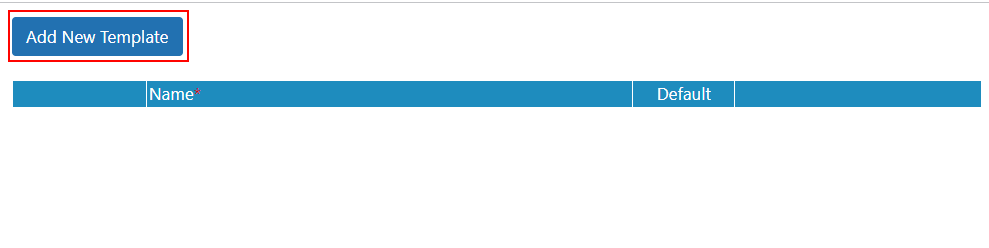
- Navigate to the "Templates" tab of your configured product.
- Click "Add New Template". This will open the LiveArt Designer where you can prepare the template
- Design your template.
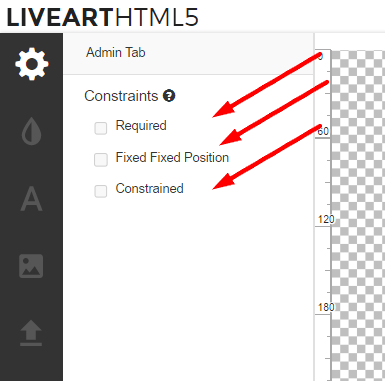
Aside from the regular designer flow it is also possible to set constraints for each element of the design:
Required - Disallows customers to remove the object.
Fixed Position - Disallows customers to change the object's position or remove it.
Constrained - Restricts object to the configured constraints. The customers won't be able to move the object outside the constrained area or remove it.
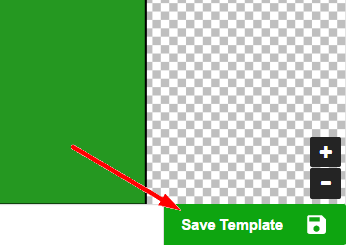
- Save your design.
- If you wish to set the template as default check the "Default" checkbox in the list of templates. This way when you open the product inside the designer the selected template will load first.

How to add fonts?
Vector Fonts Preparations
Follow these steps to prepare the vector font:
Proceed to demo.liveartdesigner.com/cufon/
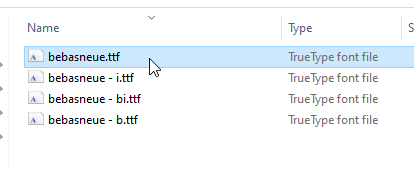
Click "Choose file".
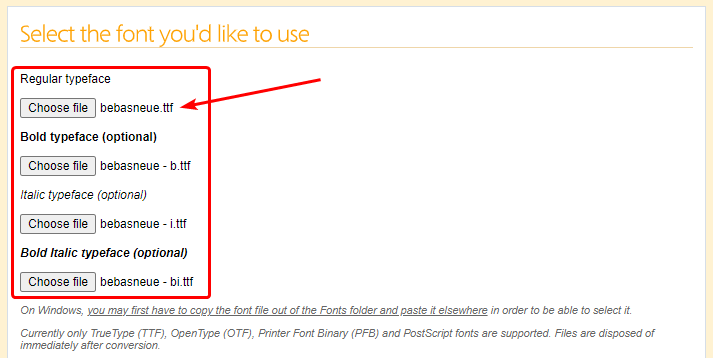
Select TTF or OTF files of all typefaces you need.
Enter the font-family value for the generated font.

This value is required for correct work and should be the same as in your Admin Area respective Font Family field. See example:

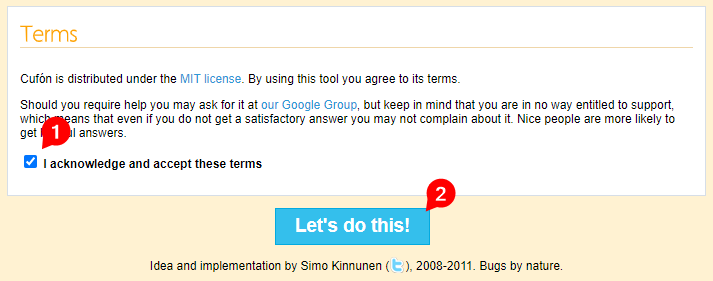
Enable "The EULAs of these fonts allow Web Embedding".

Accept terms, generate cufon font file, and download created JS file.
Once converted, the JS file is ready to be uploaded into the respective Vector File field inside the LiveArt Control Panel.
WOFF setup
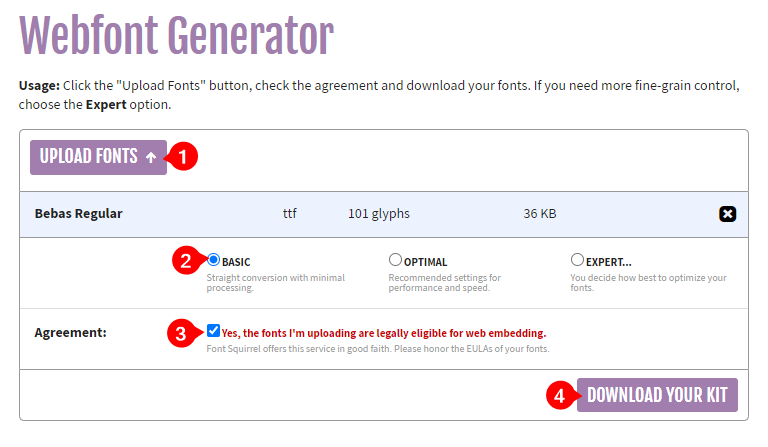
Generate font files and respective stylesheet. You can always use examples from your development package. Prepare them as usual web font. There are many tools for that, one of most popular — fontsquirrel.com.
Upload the TTF font files into the website
Select the basic conversion mode
Check the legal agreement that your fonts are eligible for web embedding
Press "Download Your Kit" to download the converted font
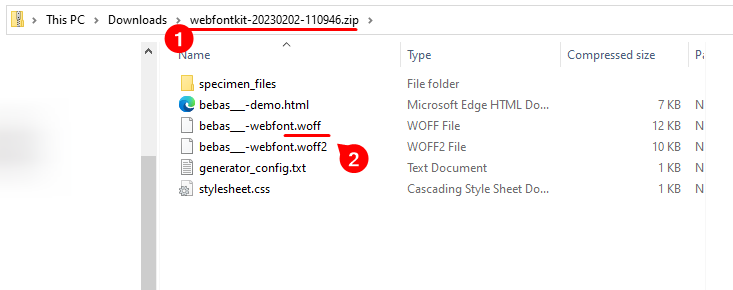
Inside the generated ZIP find the WOFF file. This file shall be used to upload it inside the LiveArt Control Panel. See an example below:
How to add fonts?
- To start working with Fonts click on "Fonts" in "Liveart" tab.
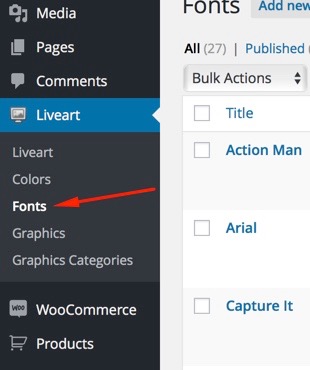
- To add new Font click on "Add new Font".
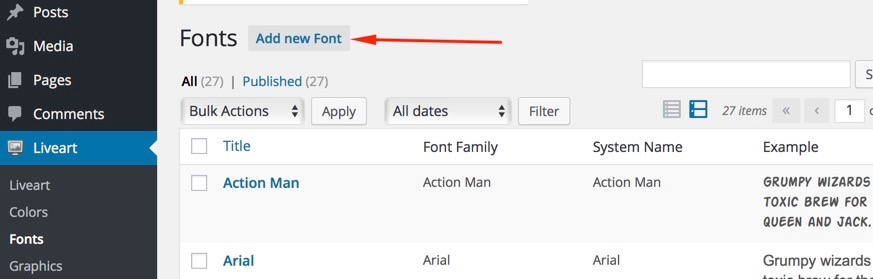
- Enter the title for new Font.

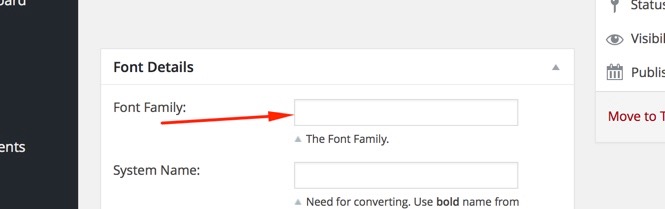
- Font Details
- Enter font family(name of typeface that is used by this font). This Font family value should be used in vector file preparation for the correct work.
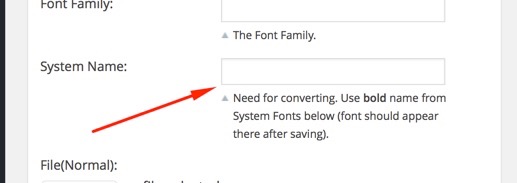
- System Name will be generated by itself once you save the font.
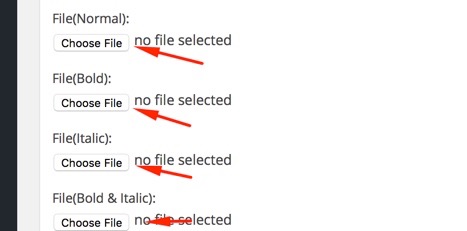
- Upload files for Normal, Bold, Italic, Bold&Italic styles. Normal file is required for font preview only. LiveArt uses the WOFF format as it's one of the most cross-platform and cross-browser.
- Enter ascent (should be indicated, as height in pixels for 32pt font size. This parameter is essential for calculating correct measurements in resizable products and size-sensitive price calculations. Normal values are 22-29).

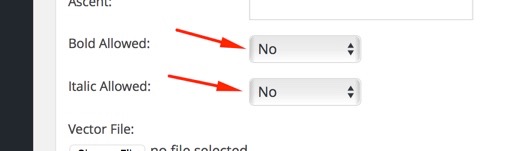
- Set "yes" for "Bold Allowed" and "Italic Allowed", if "no", disables respective control. Usable if font does not have bold or italic typefaces.
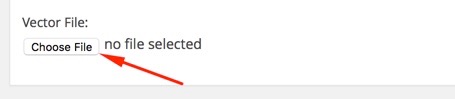
- Upload vector file (vector representation of the font glyphs for vector text effects). This file is mandatory for designer and is responsible for displaying the text with the selected font on the designer. Check how to prepare vector file for designer here.
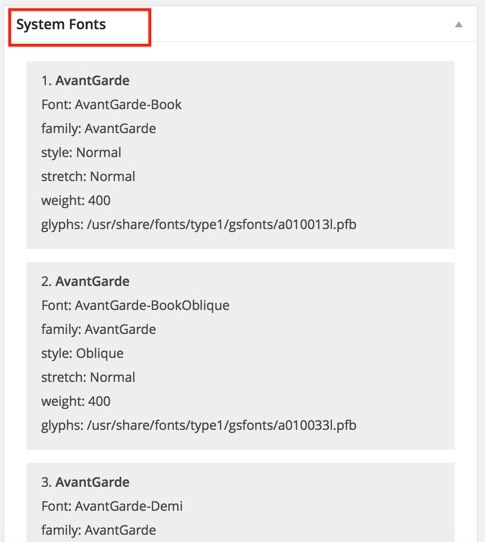
- Here you can see list of System Fonts.
- Once finished, click "Publish" on the right.

How to add color?
- To start working with Fonts click on "Fonts" in "Liveart" tab.
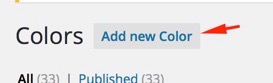
- To add new Color click on "Add new Color".
- Enter title for new Color.
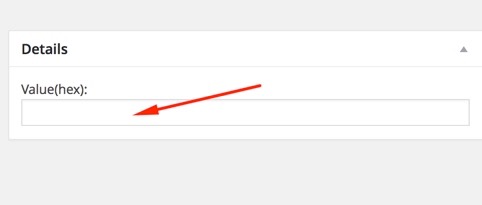
- Details
Enter Value(hexadecimal value of color).
How to add gallery artwork?
TIP
Before you set up your graphics, please prepare it according to our graphics preparation guide.
- To start working with Graphics click on "Graphics" in "Liveart" tab.
- To add new Color click on "Add new Image".
- Enter title for new image.
- Graphic Details.
Upload image and thumbnail.
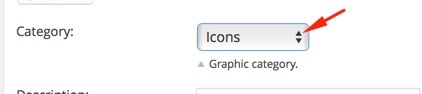
Choose Category category to which belongs the image.
Enter short description of the image, visible to the end user.

Enter price.

Colorisable
- Set to Yes, if you'd like your SVG artwork to be colorisable with 1 color;
- Set to No, if your artwork cannot be colorised or contains more than one colorisable layer;

Colors
- Set to -1, if the artwork is full color, e.g. photo;
- Set to 0, if the Colorisable field is Yes;
- Set to number, e.g. 5, to count unique colors of your artwork;
- Set to specific list of colors in the form of array, if you'd like to accurately count colors on design;
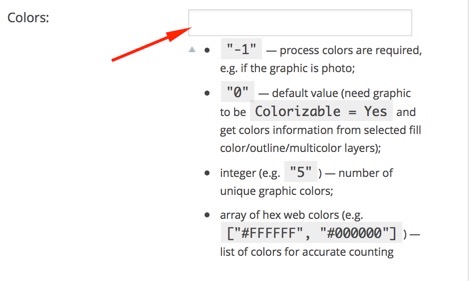
- Colorisable Elements - list of SVG style elements with fill attribute, which you'd like user to be able to colorise from LiveArt. To use this option, Colorisable should be No and Colors field should be empty.
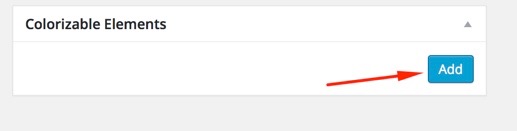
Click on "Add" to add colorisable element.
Enter name and id of an element (id should be like .bg.fill and should correspond class name from SVG).
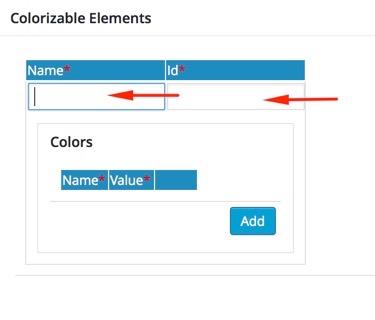
Click "Add" to add colors.
Enter Name and value of color.
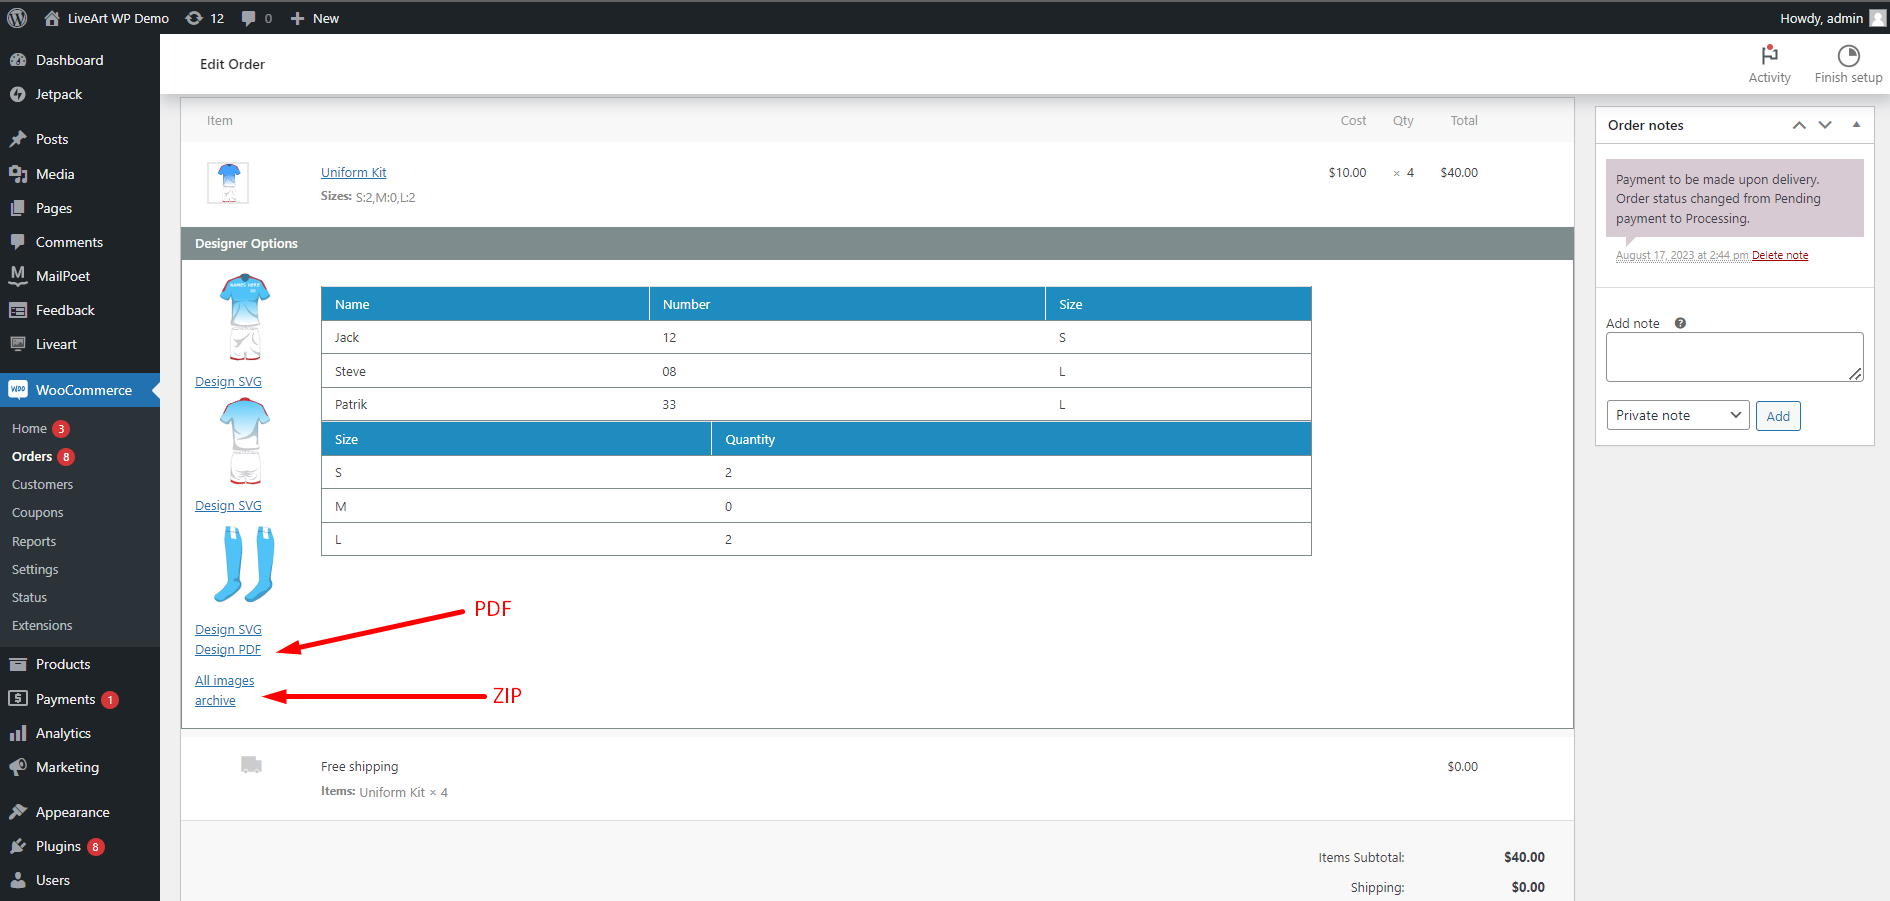
How to find order output files?
The result of product customization is attached to the order, once the customer fulfills it.
To obtain the output files:
- Go to the Orders tab in the navigation menu.

- Choose the Order you need from the list.
- Inside the order you'll find the links for downloading output files as either ZIP or PDF.
TIP
Zip - a zipped package containing original SVG along with all referenced sources like gallery images or uploaded files. You can download and open it in Illustrator;
PDF - an SVG preview and generated PDF file of the corresponding side. Please note that PDF requires the correct configuration of additional software.