Setup Fonts
Overview
Fonts are a crucial tool in the process of designing a custom product, helping users put their ideas to life.
Setup process consist of converting your TTF or OTF font files to required format, generating preview, and setup them in the Admin Area.
Font File Preparations
Follow these steps to convert the font:
Proceed to demo.liveartdesigner.com/cufon/
Click "Choose file".
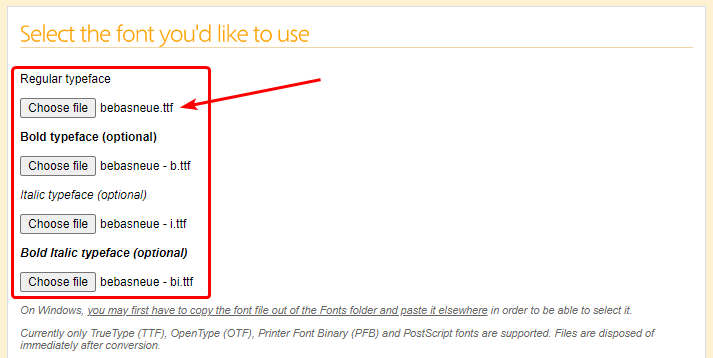
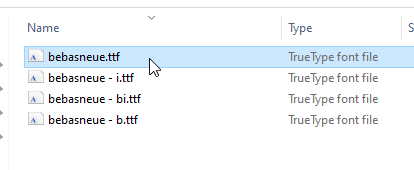
Select TTF or OTF files of all typefaces you need.
Enter the
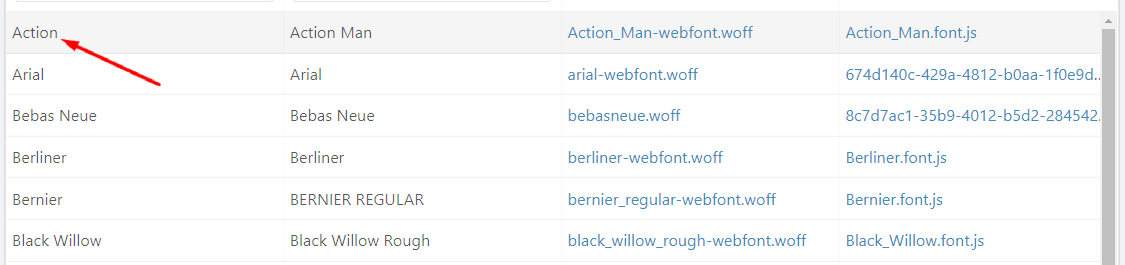
font-familyvalue for the generated font.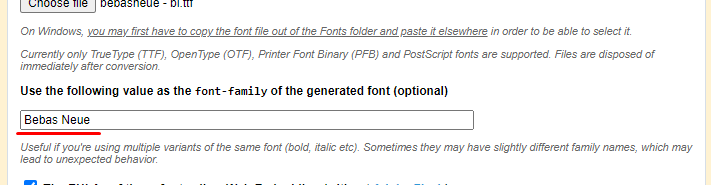 This value is required for correct work and should be the same as in your Admin Area respective Font Family field (the last step). See example:
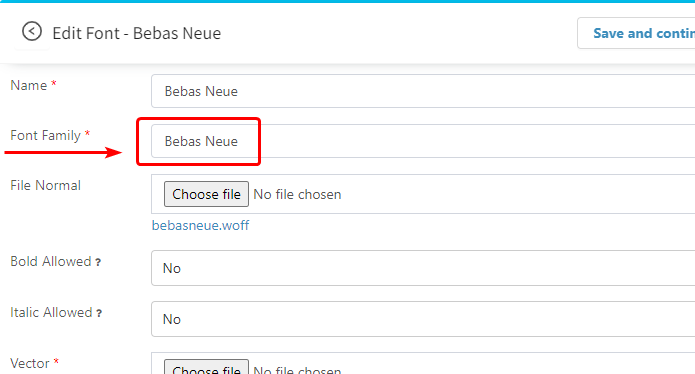
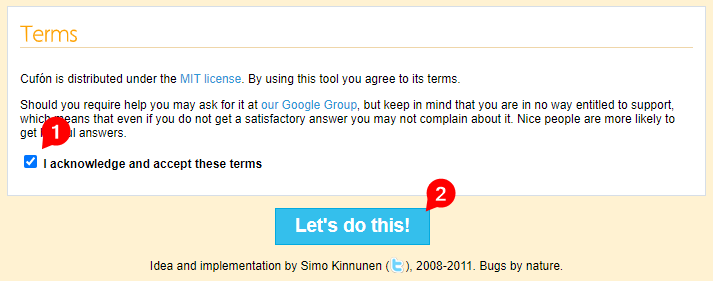
Enable "The EULAs of these fonts allow Web Embedding".

Accept terms, generate cufon font file, and download created JS file.
Once converted, the JS file is ready to be uploaded into the respective Vector File field inside the LiveArt Control Panel (the last step).
Font Preview Preparations
Prepare it as usual web font (woff2 is recommended). There are many tools for that, one of most popular — fontsquirrel.com.
TIP
Check WOFF documentation to get to know more about WOFF. LiveArt uses the WOFF format as it's one of the most cross-platform and cross-browser.
Upload the TTF or OTF regular typeface font file into the convertor.
Select the basic conversion mode
Check the legal agreement that your fonts are eligible for web embedding
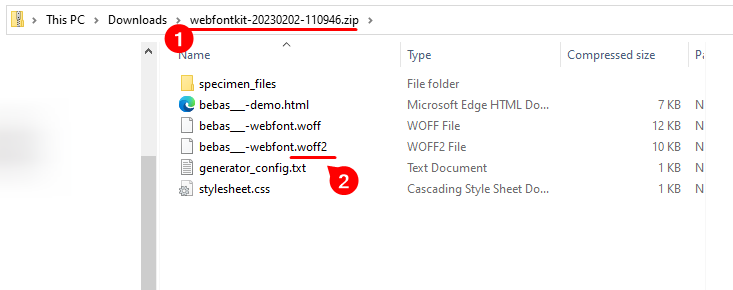
Press "Download Your Kit" to download the converted font.

Inside the generated ZIP find the WOFF2 file. This file shall be used to upload it inside the LiveArt Control Panel (the last step). See an example below:
Add Font
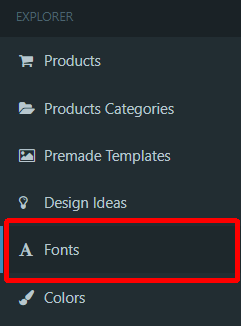
Choose "Fonts" in the Explorer.
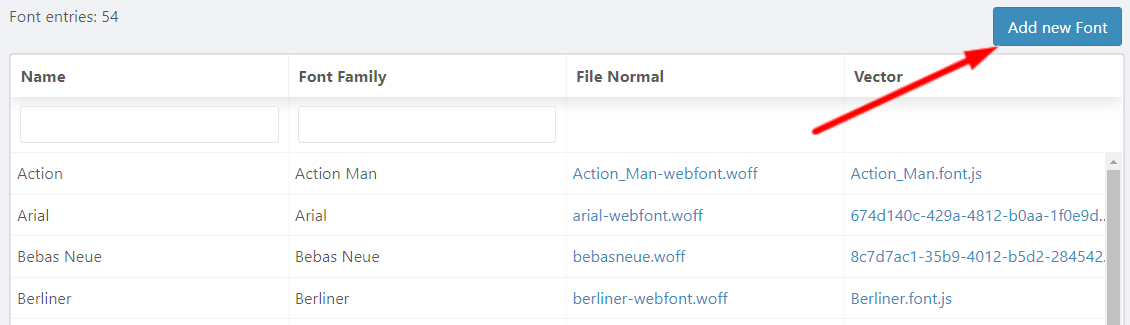
Click on the "Add new font".
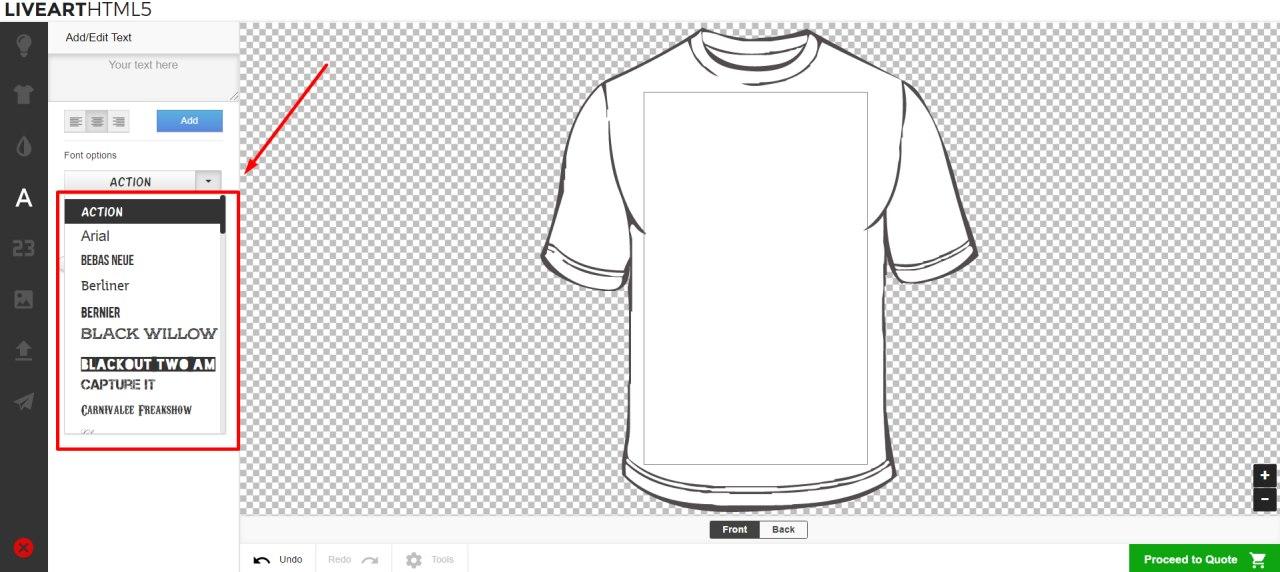
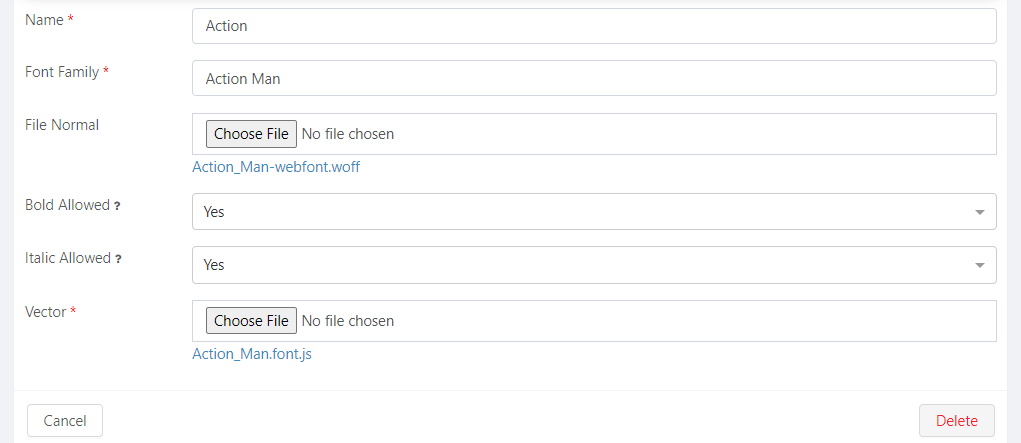
Enter the Name of the new font, that's how it will appear in LiveArt Designer fonts list.

Enter the Font family (system font name). It is
font-familyvalue from font conversion step.
Upload file preview (
woff2) to Font Normal. It is required for font preview only.TIP
Font Normal is an optional field. Without it the new font will be added as the default Times New Roman font.

After adding the File Normal, this font preview will appear in the designer's fonts list. See the example:
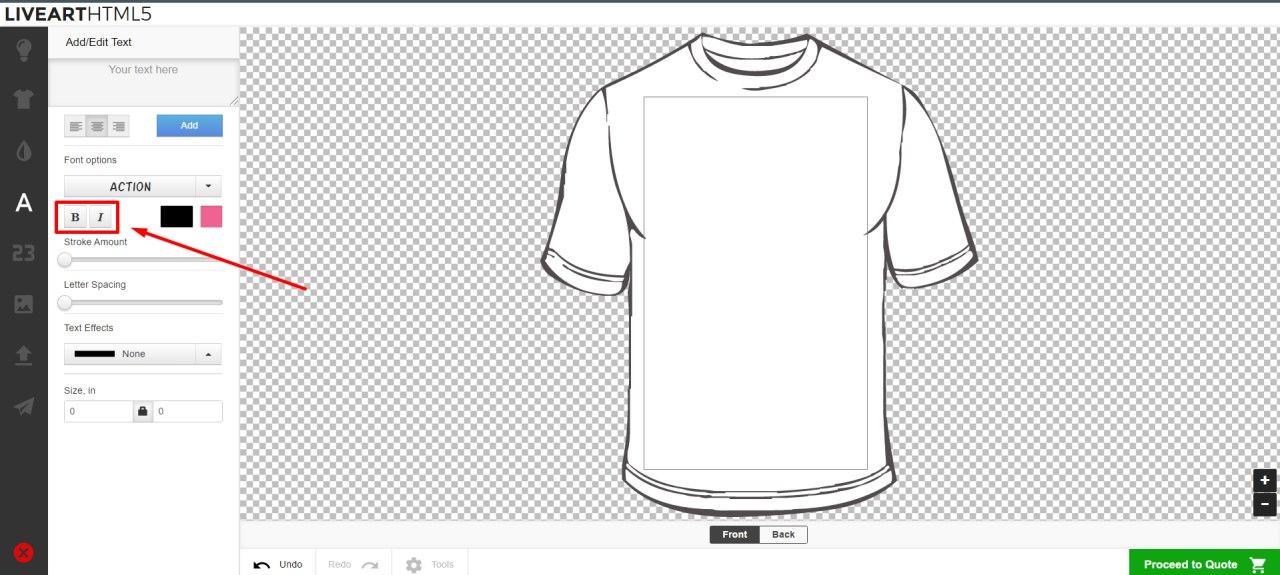
Set Bold and Italic allowed the same you converted font on the first step (if you choose NO, it disables respective controls. You can choose NO if the font does not have bold or italic typefaces).

If you allow Bold and Italic, then these controls will appear in the designer. See the example:
Upload converted
JSfont to Vector field. This file is mandatory for designer and is responsible for displaying the text with the selected font on the designer.
Click on the "Save" to save a new font.

Edit Font
To start editing font:
- Choose "Fonts" in the Explorer.
- Click on one of the listed fonts you want to edit.
- Choose options you want to edit from the list of options.
Click on the "Save" to save the edited font.
